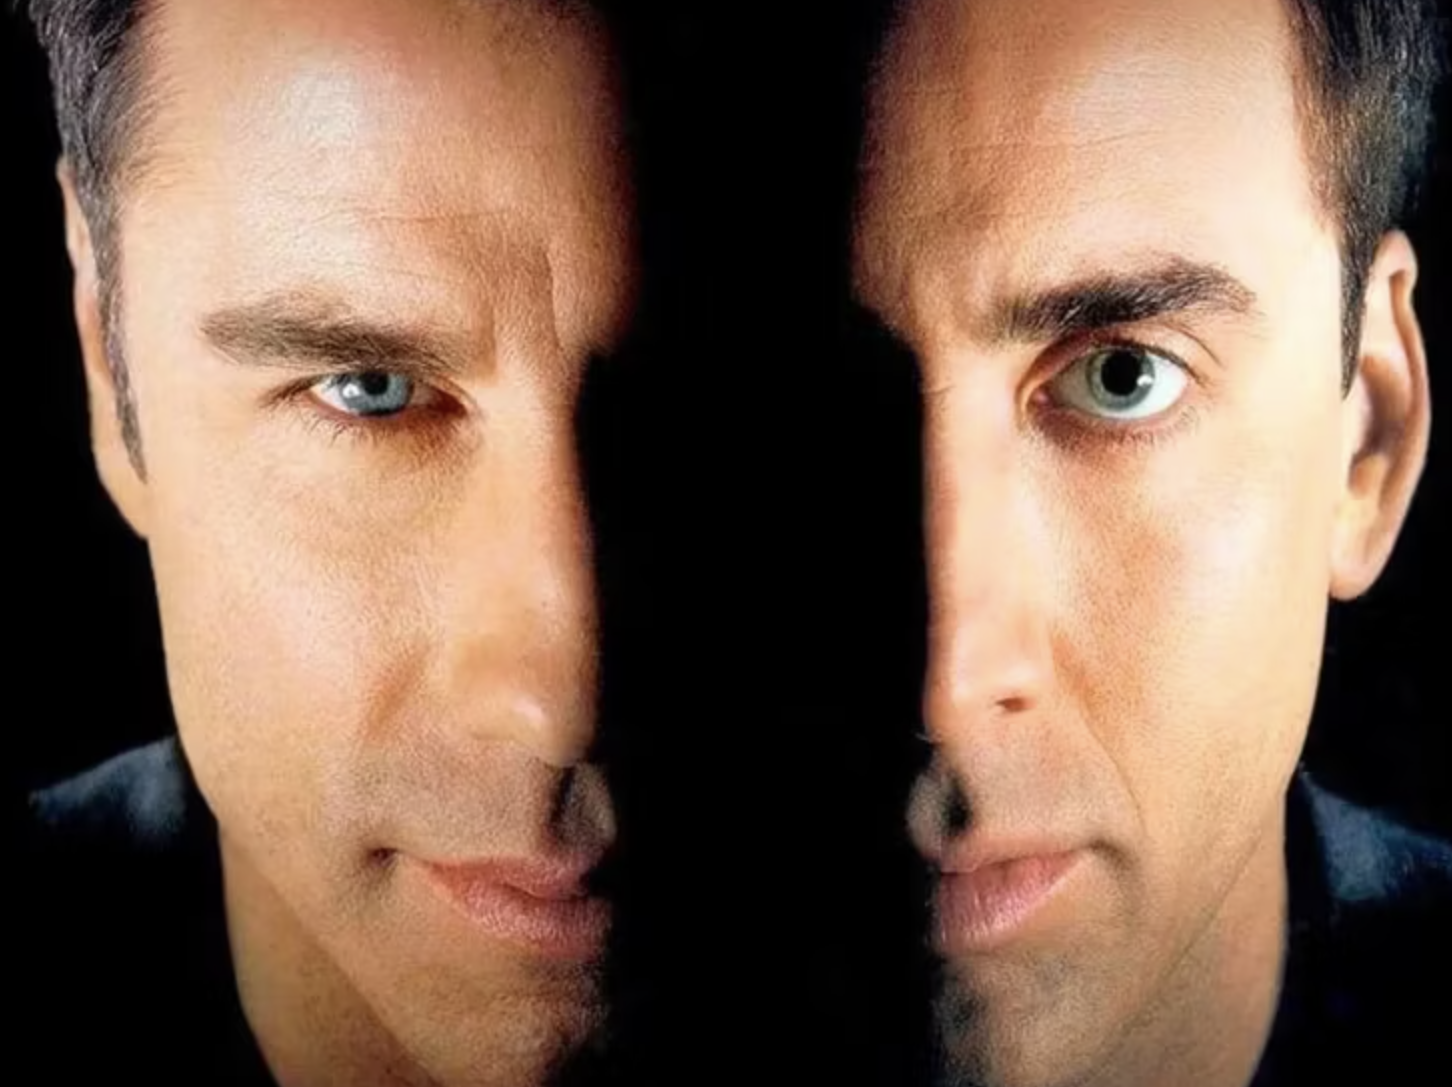
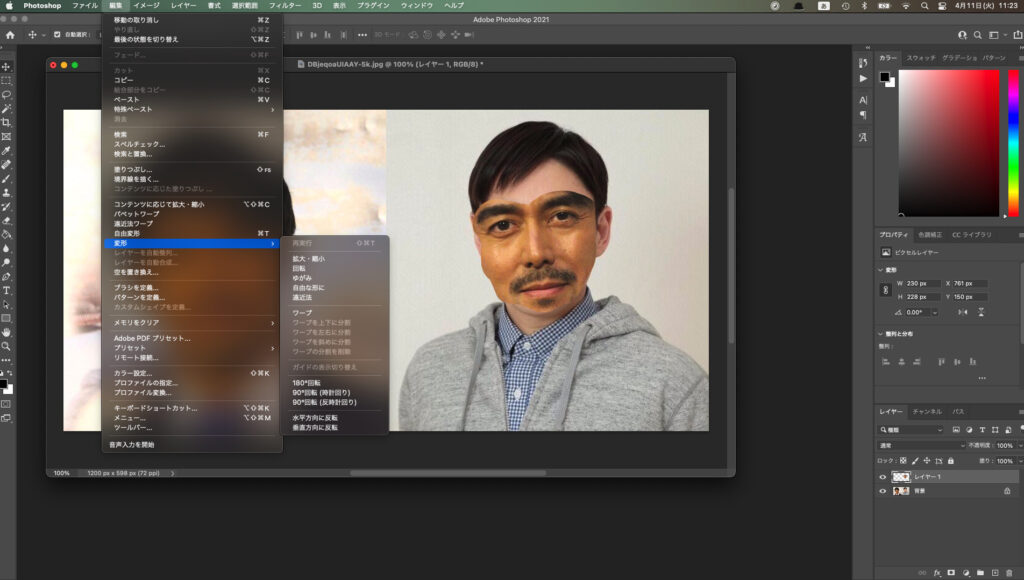
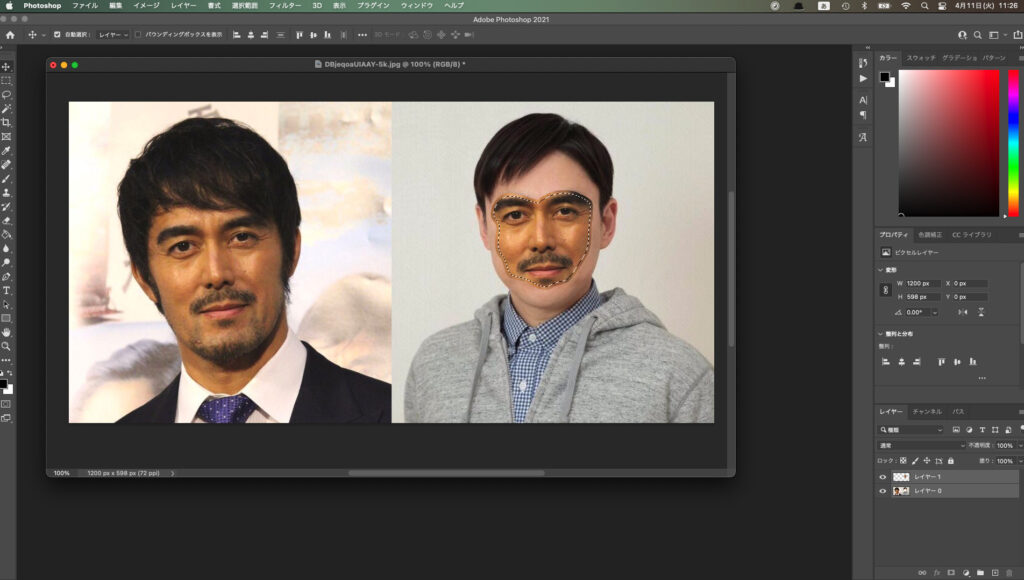
Photoshopの講習で一番人気があるのがこの顔の入れ替え。最近はアプリでもできますが手作業で詰めれるならこちらがまだまだ自由度も精度も高い。
まず、なげなわツール(L)などで必要な移植する部分を囲みます。選択範囲ができたらコピー(command+C)して貼付け(command+V)。 縮小や回転などして目鼻口などの位置を合わせます。
![](https://blog.bnd.jp/wp-content/uploads/041c8e89b678b46731ac2144bc87c2e7-1024x580.jpg)
![](https://blog.bnd.jp/wp-content/uploads/3d286c066077720590e492e614c9bbcc-1024x580.jpg)
![](https://blog.bnd.jp/wp-content/uploads/8ec6a9c9f17f674d2b5aa83ddff080e1-1024x580.jpg)
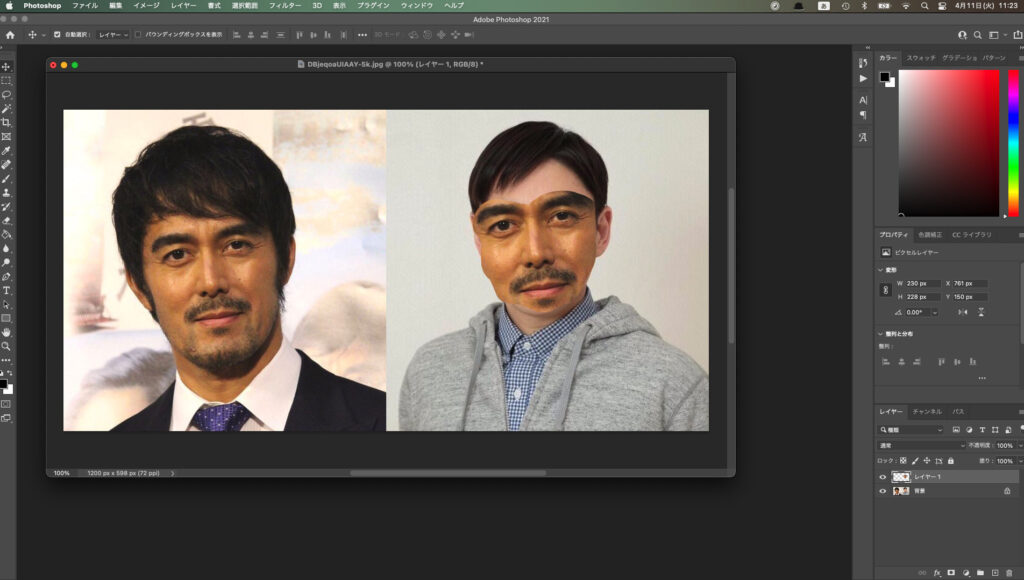
コツは、切り取ったパーツレイヤーの不透明度を50%〜60%程度にし、下のレイヤーの元の顔と重なるように顔のパーツを自由変形(編集→変形→自由な形に)できっちり合わせると違和感は消えていきます。
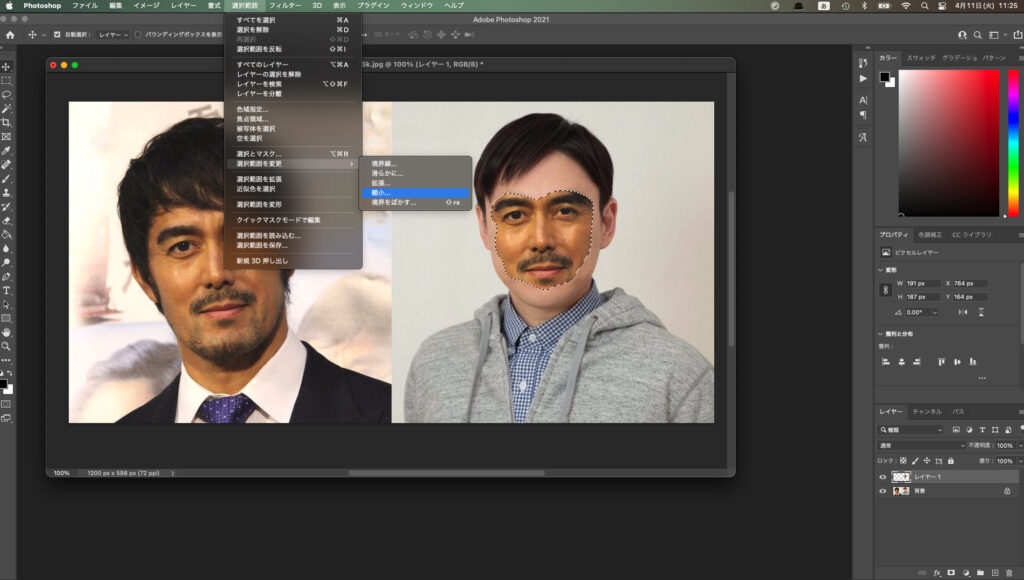
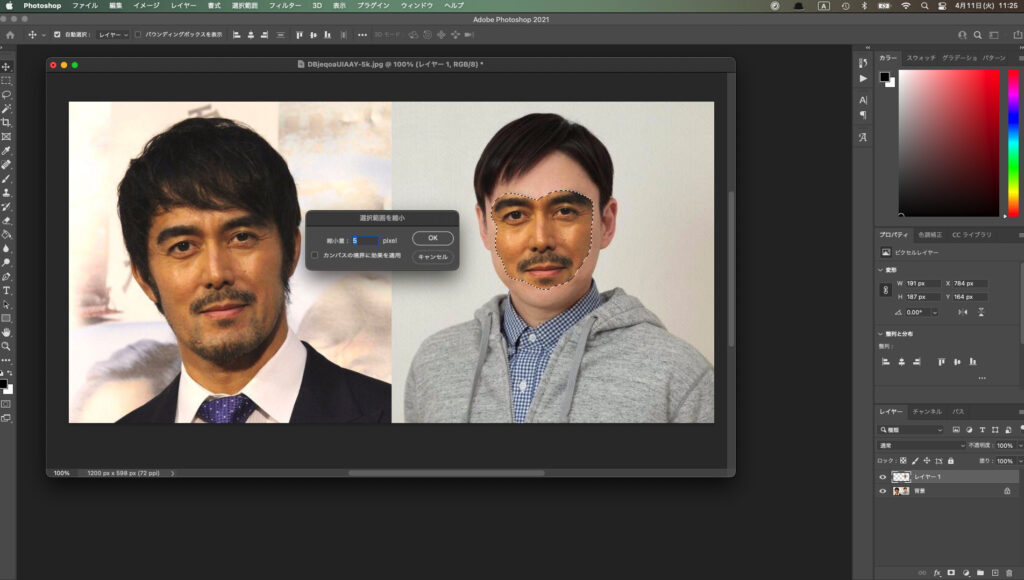
![](https://blog.bnd.jp/wp-content/uploads/9bdf40befda56aded47d3d00bffed831-1024x580.jpg)
自動合成の下準備で選択範囲を縮小し元画像を小さめに削除しておきます。
![](https://blog.bnd.jp/wp-content/uploads/5b398eeaa9d4e5cbd78497cfa5d68afd-1024x580.jpg)
![](https://blog.bnd.jp/wp-content/uploads/da08479581968d2308da7b3df64abe22-1024x580.jpg)
![](https://blog.bnd.jp/wp-content/uploads/eba117ff5d58c6bf1f96e4940afb87de-1024x580.jpg)
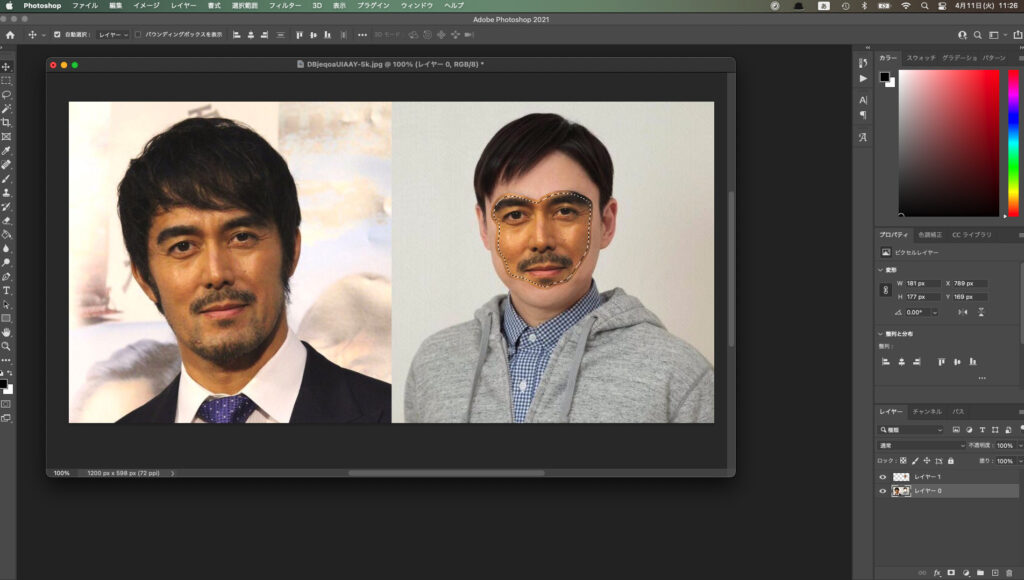
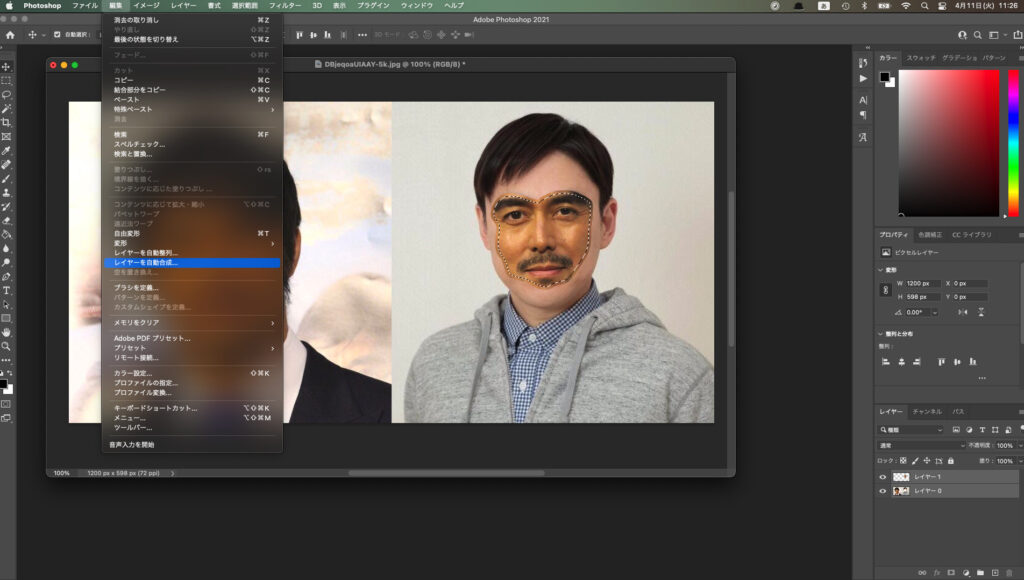
顔のパーツレイヤーと境界線の調整で作ったマスク付きの新規レイヤー2つを選択します。
![](https://blog.bnd.jp/wp-content/uploads/57b8ad171c27ba4a3f9ece1dc83d4034-1024x580.jpg)
2つのレイヤーを選択したら、レイヤーの自動合成(編集→レイヤーの自動合成…)。
![](https://blog.bnd.jp/wp-content/uploads/3f024b15786525d50fc2154c450f14aa-1024x580.jpg)
![](https://blog.bnd.jp/wp-content/uploads/51b6e72b8fedaa64dbea904916317f1a-1024x580.jpg)
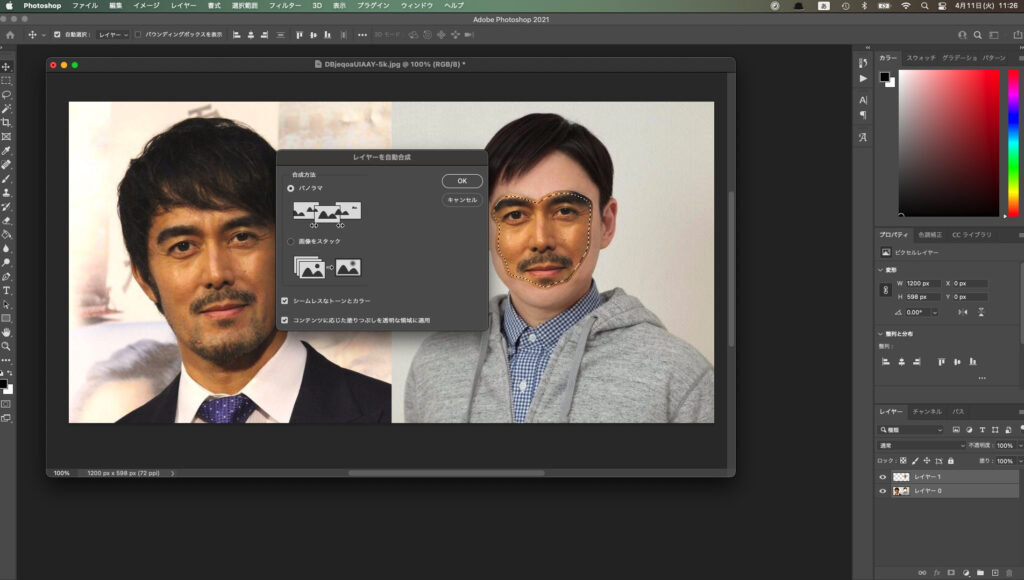
肌の色などが自動で調整され結合されます。
![](https://blog.bnd.jp/wp-content/uploads/95d6522e09caeba895391efca4f8214d-1024x580.jpg)
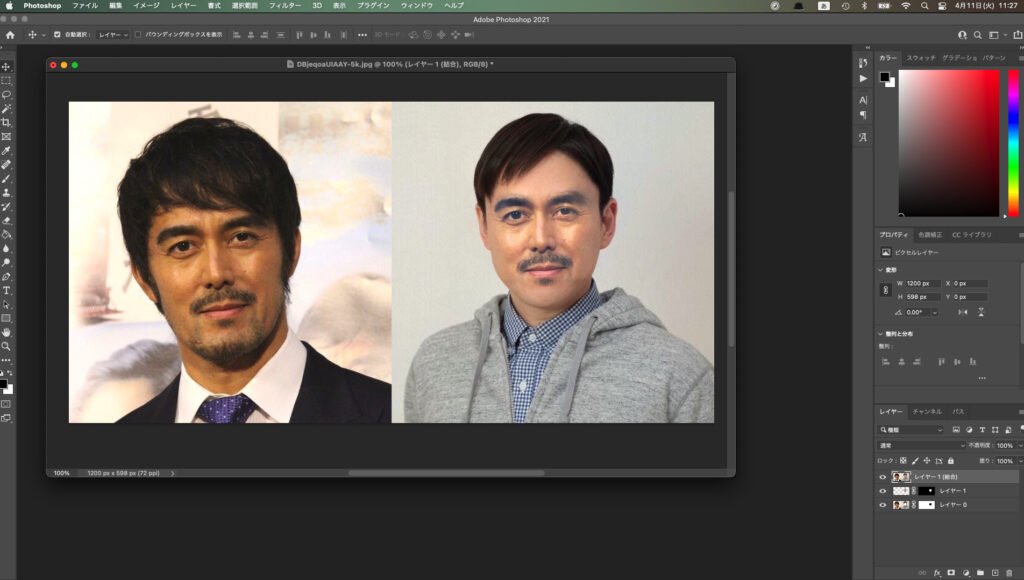
..微調整は必要ですが、このように簡単にできます。
![](https://blog.bnd.jp/wp-content/uploads/104f32b1bc271e4f5be109f2639a7091.gif)
![](http://www.bnd.jp/image/lgmn.png)